Configuring Single Sign-On in AWS
AWS Single Sign-On (SSO) is a cloud SSO service that makes it easy to centrally manage SSO access to multiple AWS accounts and business applications. You can read more about it on AWS Single Sign-On website.
Configuration
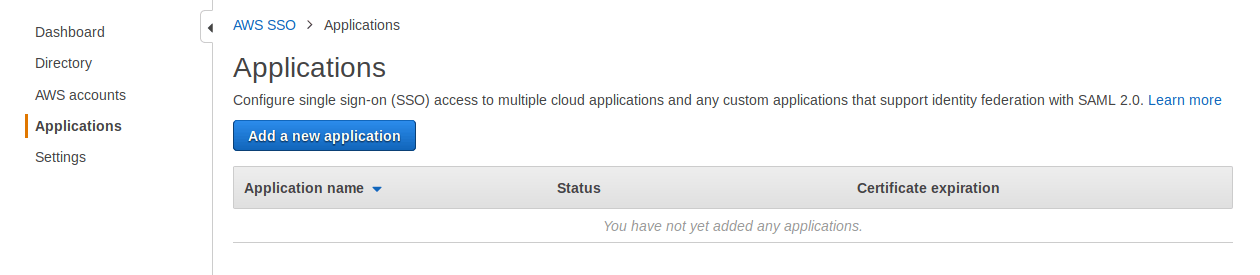
Navigate to the SSO within your AWS console and switch to Applications section.
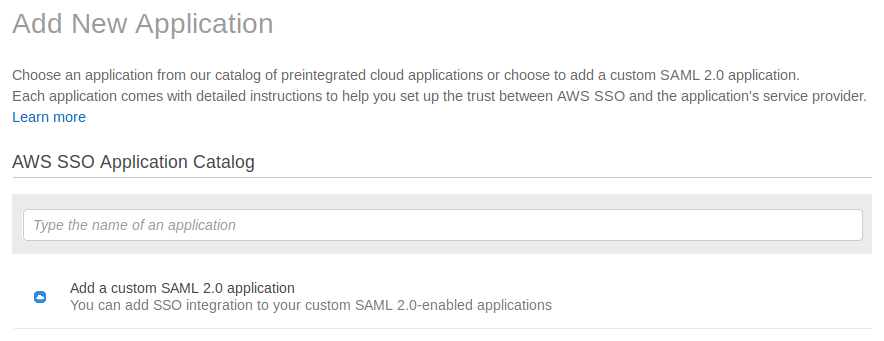
Now Click "Add a new application" and then click "Add a custom SAML 2.0 application ".
Fill "Name" and "Description" fields with the desired values
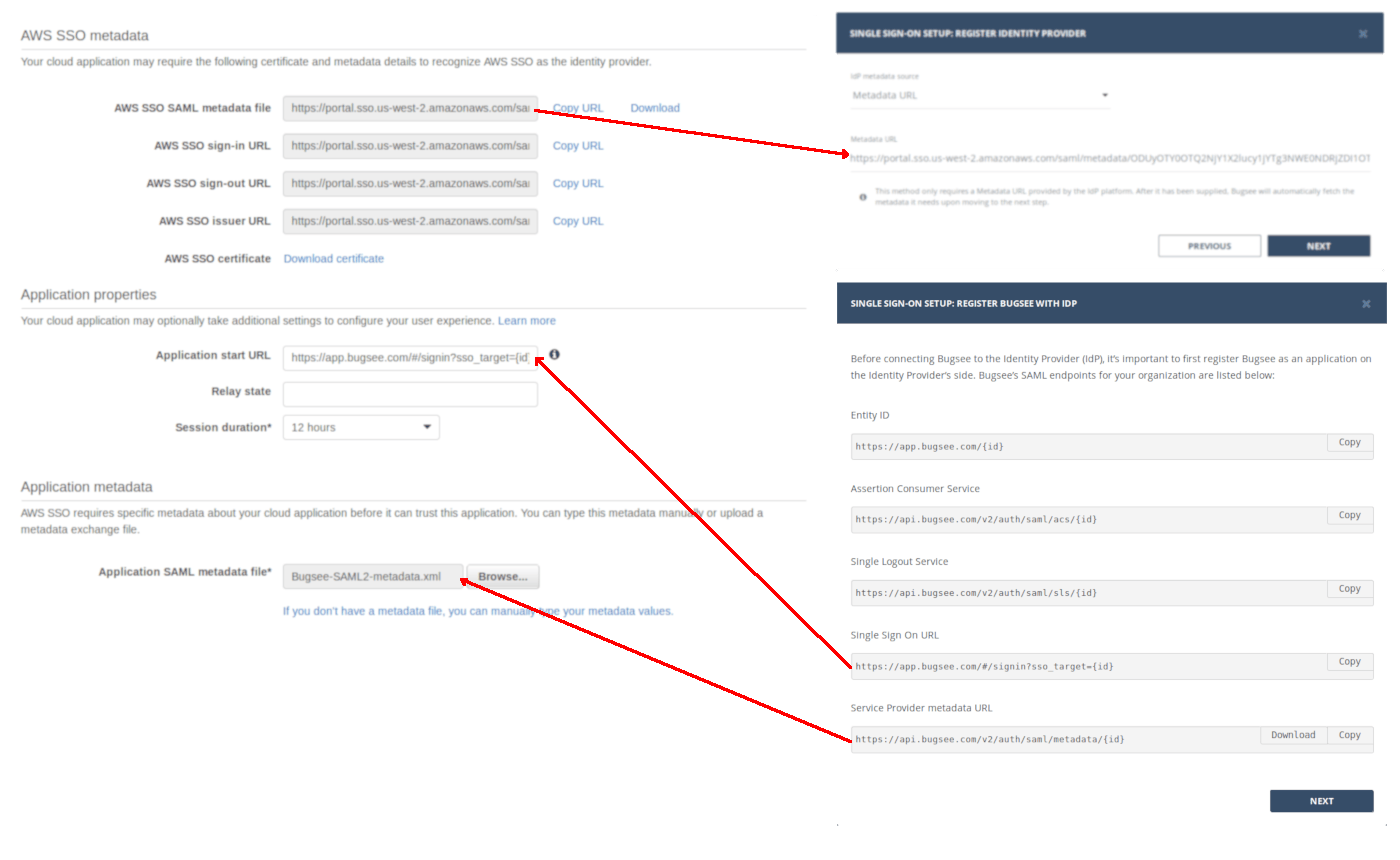
Next, you need to exchange metadata between Bugsee and AWS SSO. On the first step of Bugsee SSO setup wizard, click "Download" for "Service Provider metadata URL". Now use the downloaded file for "Application SAML metadata file" in AWS SSO configuration page. Simultaneously, copy the url in "AWS SSO SAML metadata file" field by clicking "Copy URL" next to it. Paste that URL into "Metadata URL" field in the second step of Bugsee's SSO setup wizard dialog.
Now click "Save changes" at the bottom of the page.
As the next step, you need to configure attributes mapping to let SSO work. Switch to the "Attribute mappings" tab and configure the fields in the following manner:

You can read more about possible attribute values here.
Copy the attributes names. You must provide the same names in the Bugsee's SSO setup wizard dialog when prompted. Also, as "Format" for "Subject" use "emailAddress" and for the rest fields use "uri".
That's all the steps required to configure SSO in AWS console. Complete the configuration of SSO in Bugsee and you're all set.