Configuring Single Sign-On in Azure
Configuration
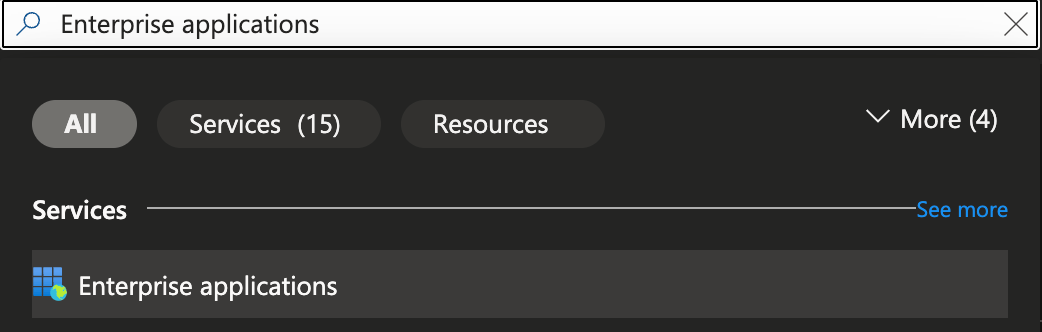
Navigate to your Azure. In the search bar at the top, type "Enterprise applications" and select the corresponding item.
Now, click New application button in the actions bar.

Click Create your own application, specify application name and check Integrate any other application you don't find in the gallery (Non-gallery) and click Create button at the bottom.

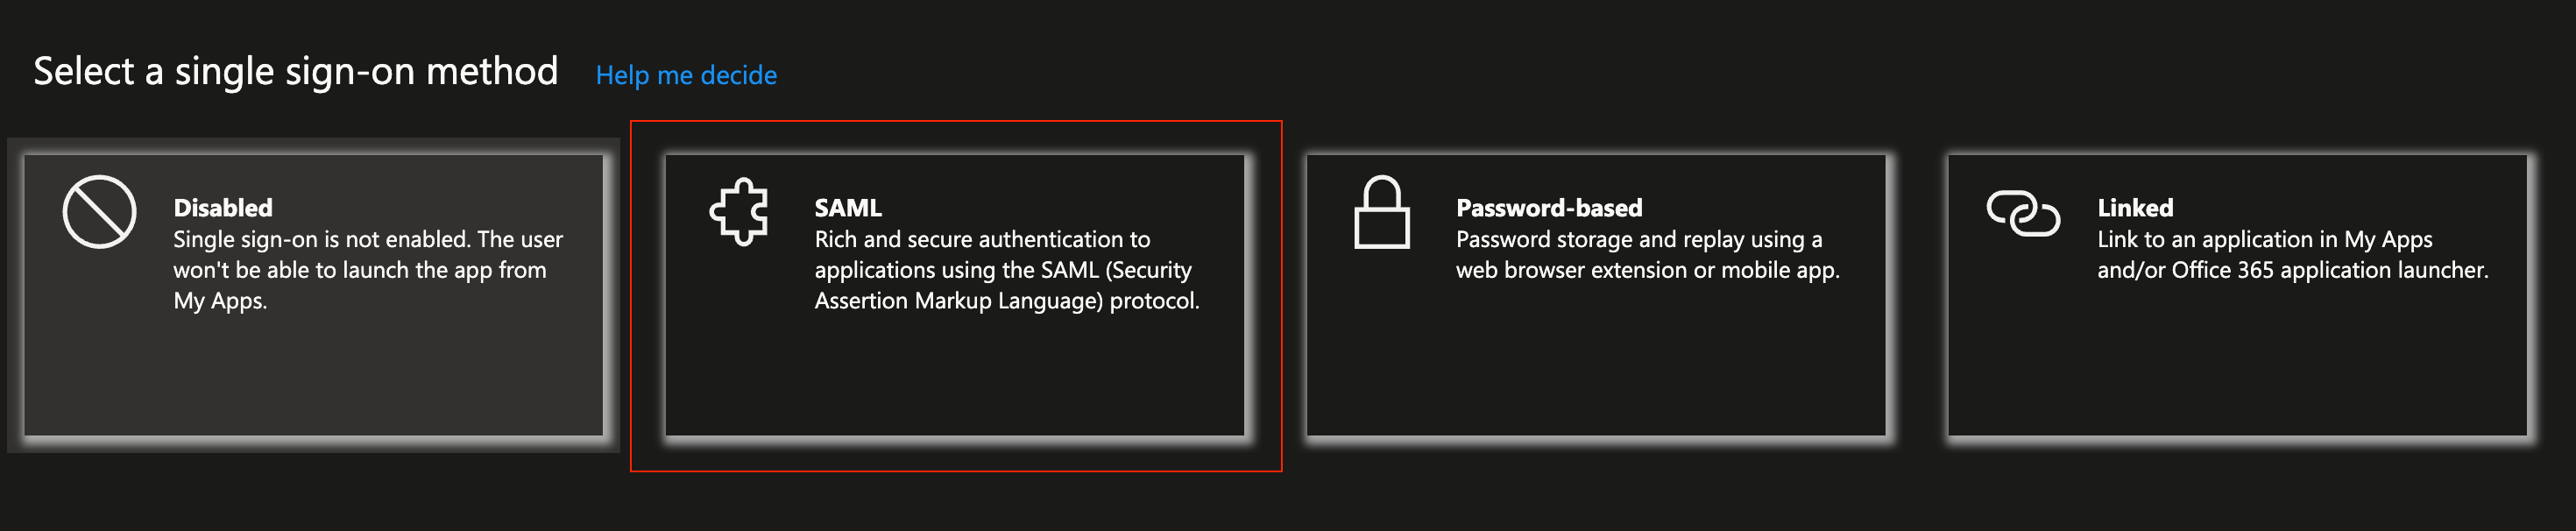
Open the newly created application and switch to Manage → Single sign-on section. Click SAML block to start configuring SSO.
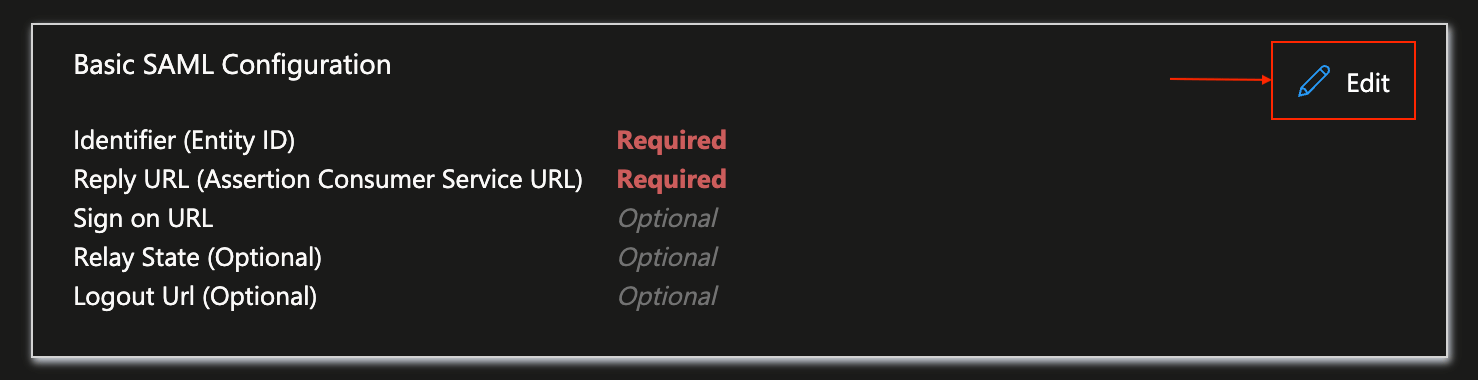
Click the pencil icon in the block #1 (Basic SAML Configuration)
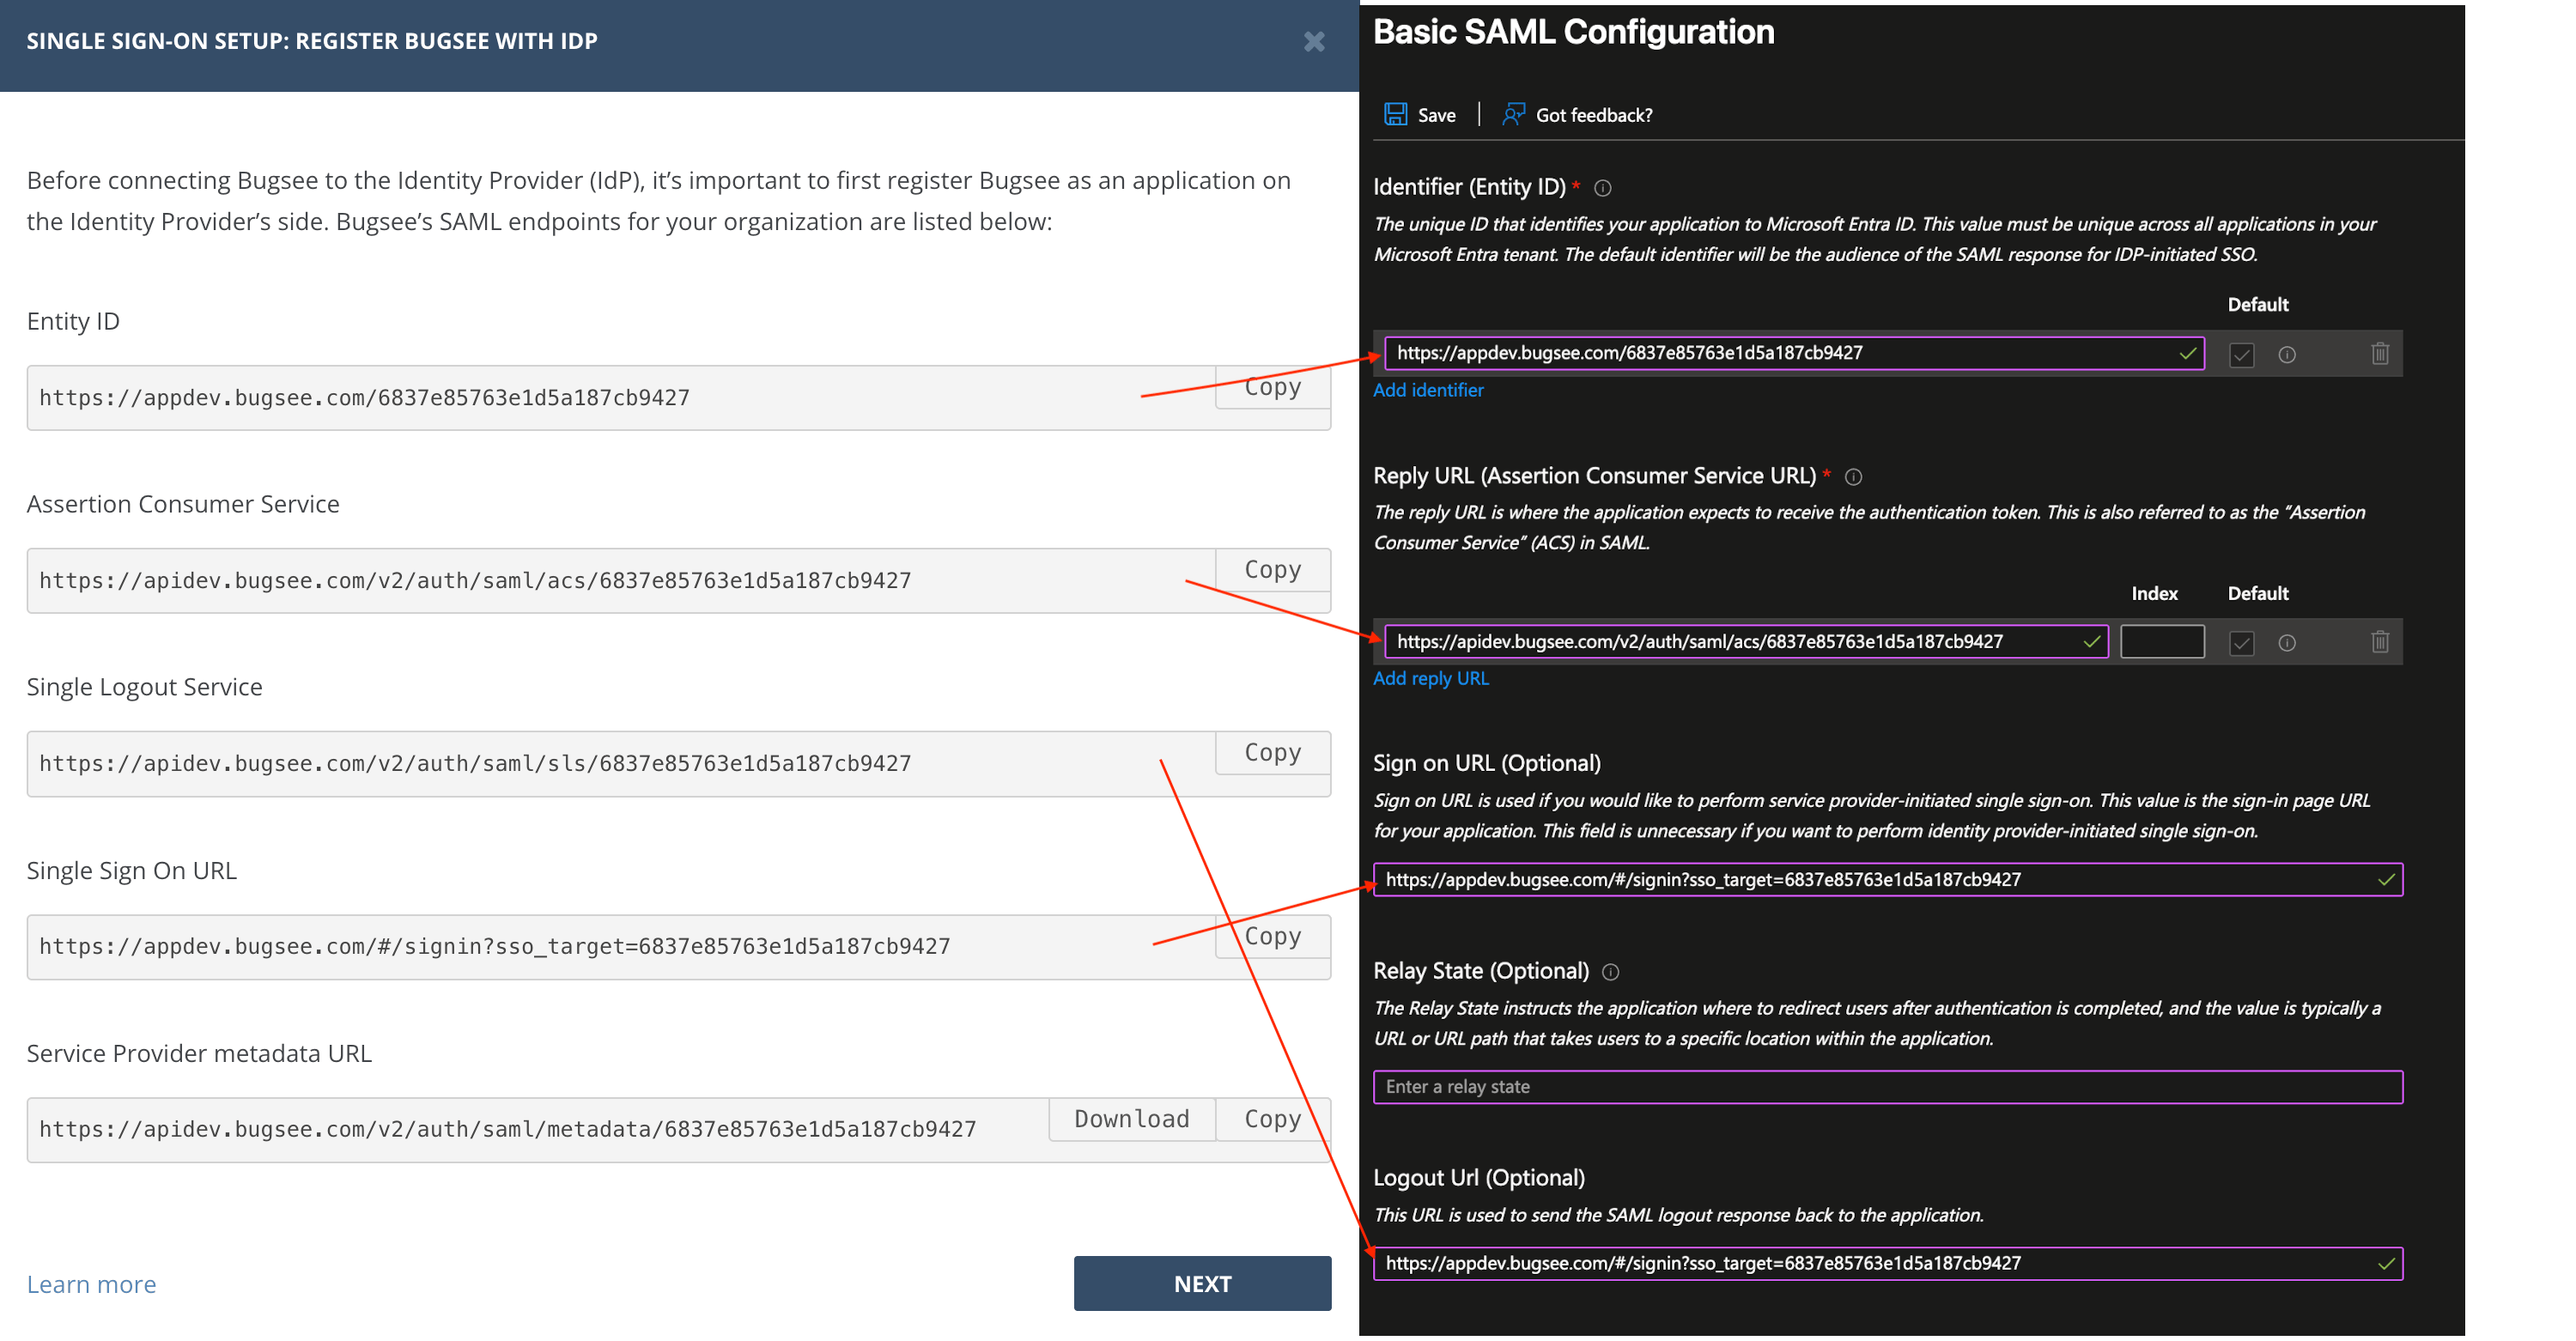
Now, fill the fields as shown in the picture below, then click Save button and close the Basic SAML Configuration pane.
Next, click the pencil icon in the Attributes & Claims section.
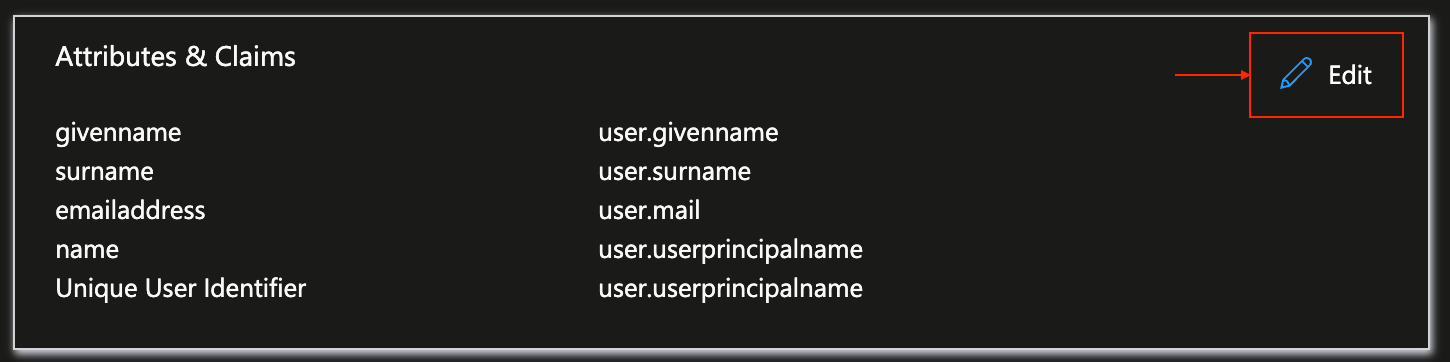
Now, fill the fields as shown in the picture below and close the Attributes & Claims pane. You can clear the Namespace field for the entries in Additional claims. It's not being used or required.
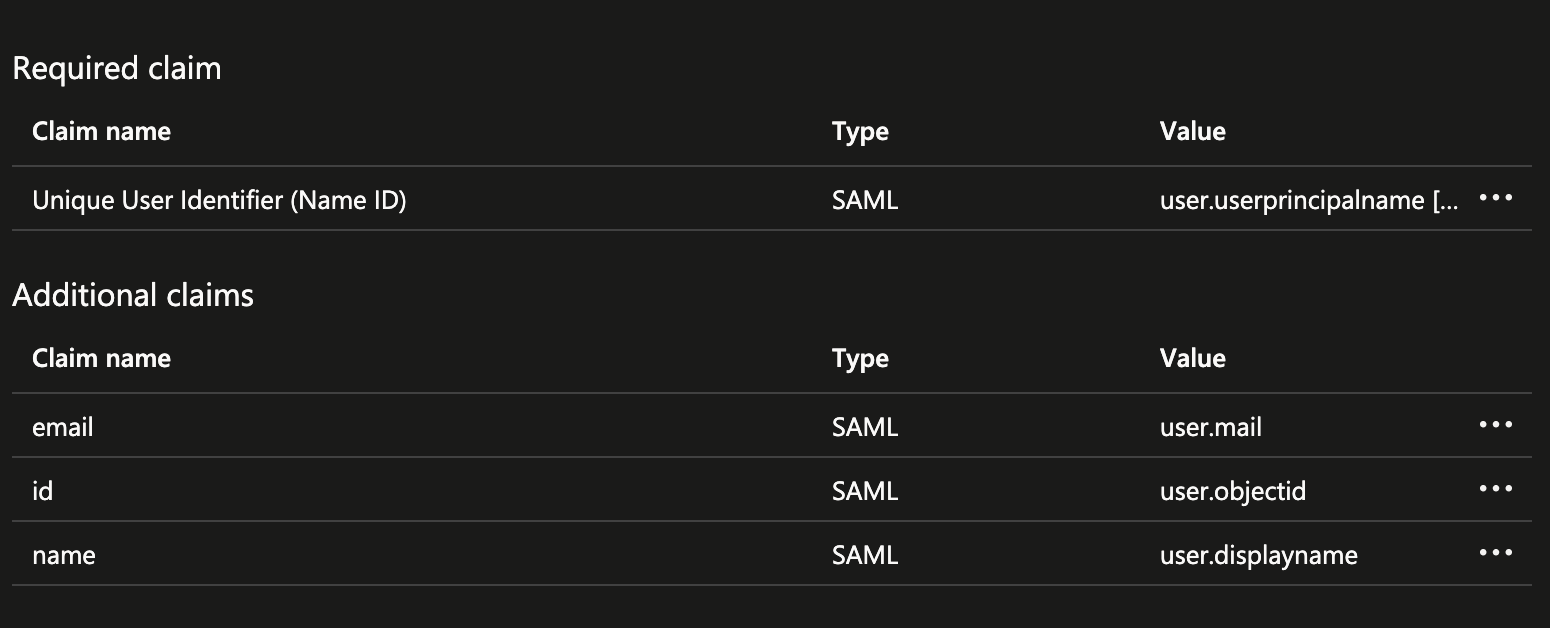
Copy the attributes names. You must provide the same names in the Bugsee's SSO setup wizard dialog when prompted.
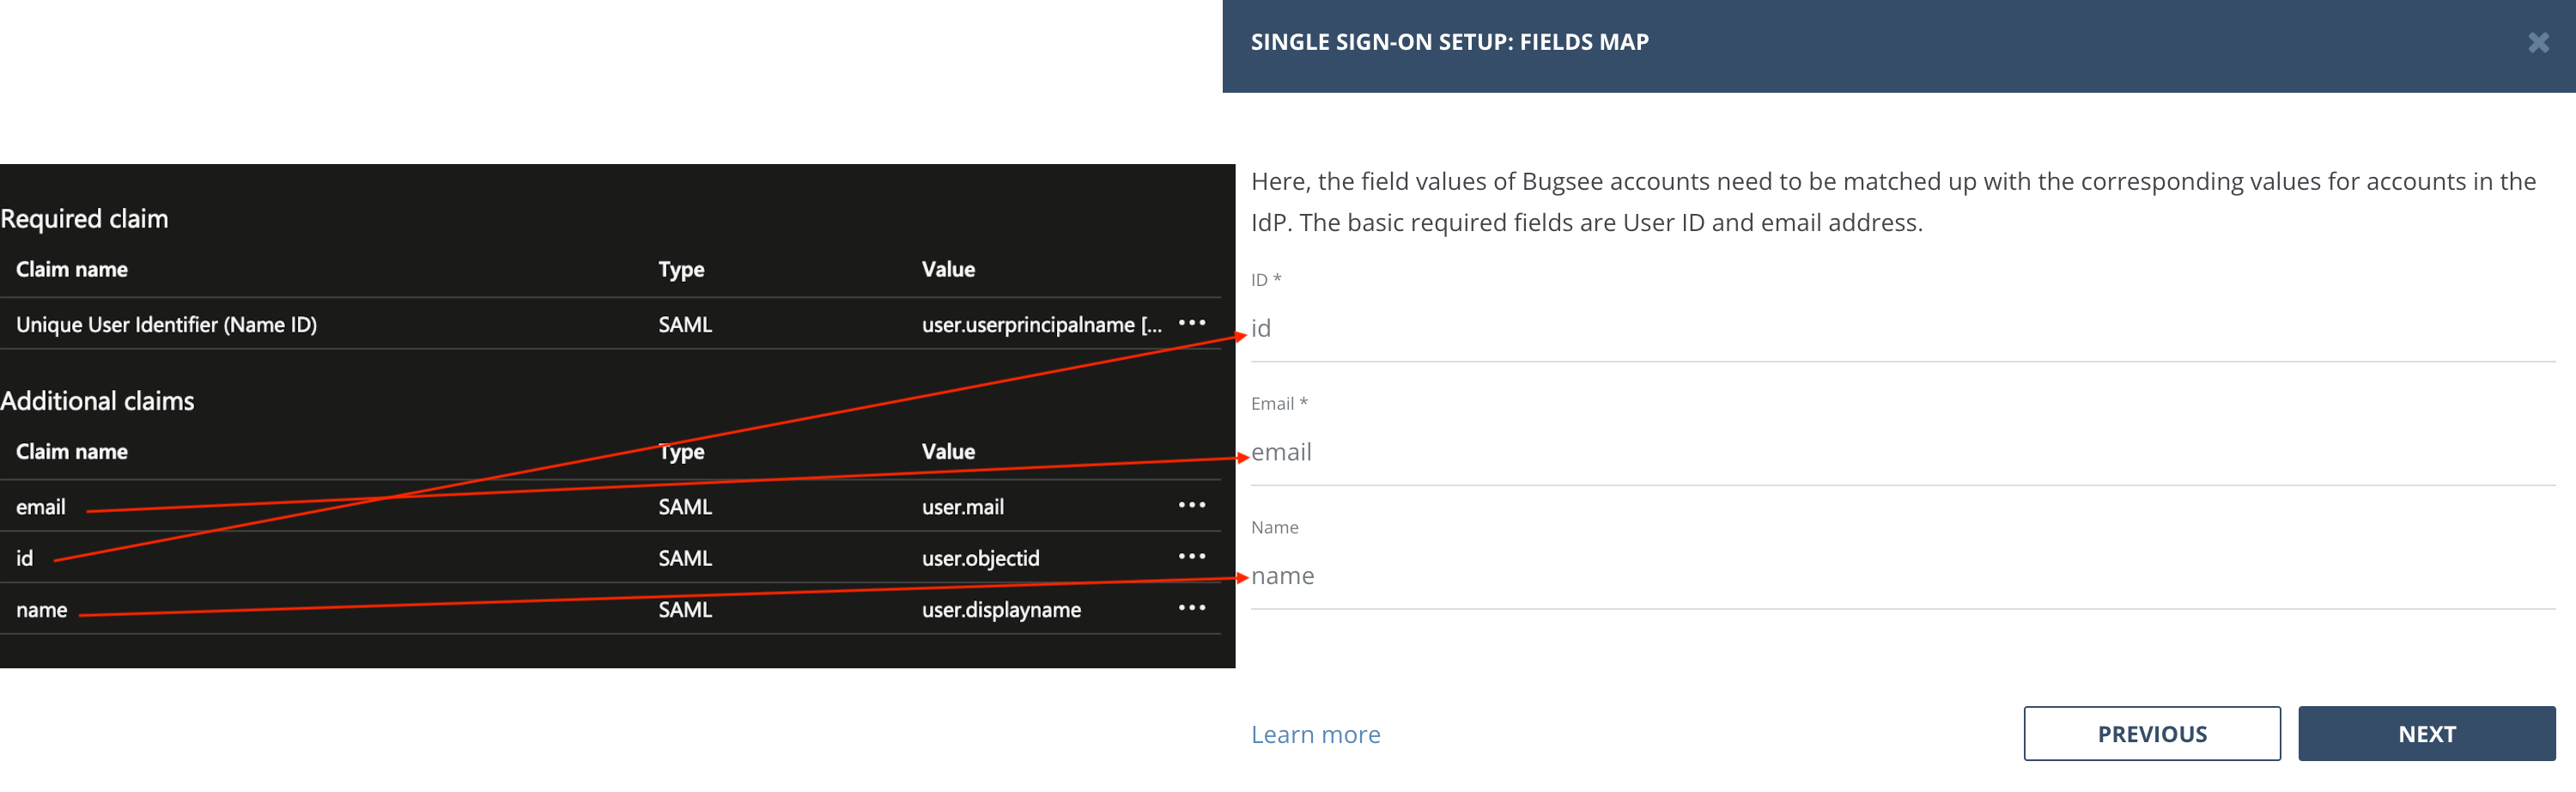
Notice the claims names. You must provide the same names in the Bugsee's SSO setup wizard dialog when prompted. See the screenshot below. The Name field is the name of the attribute that will be used in Bugsee.
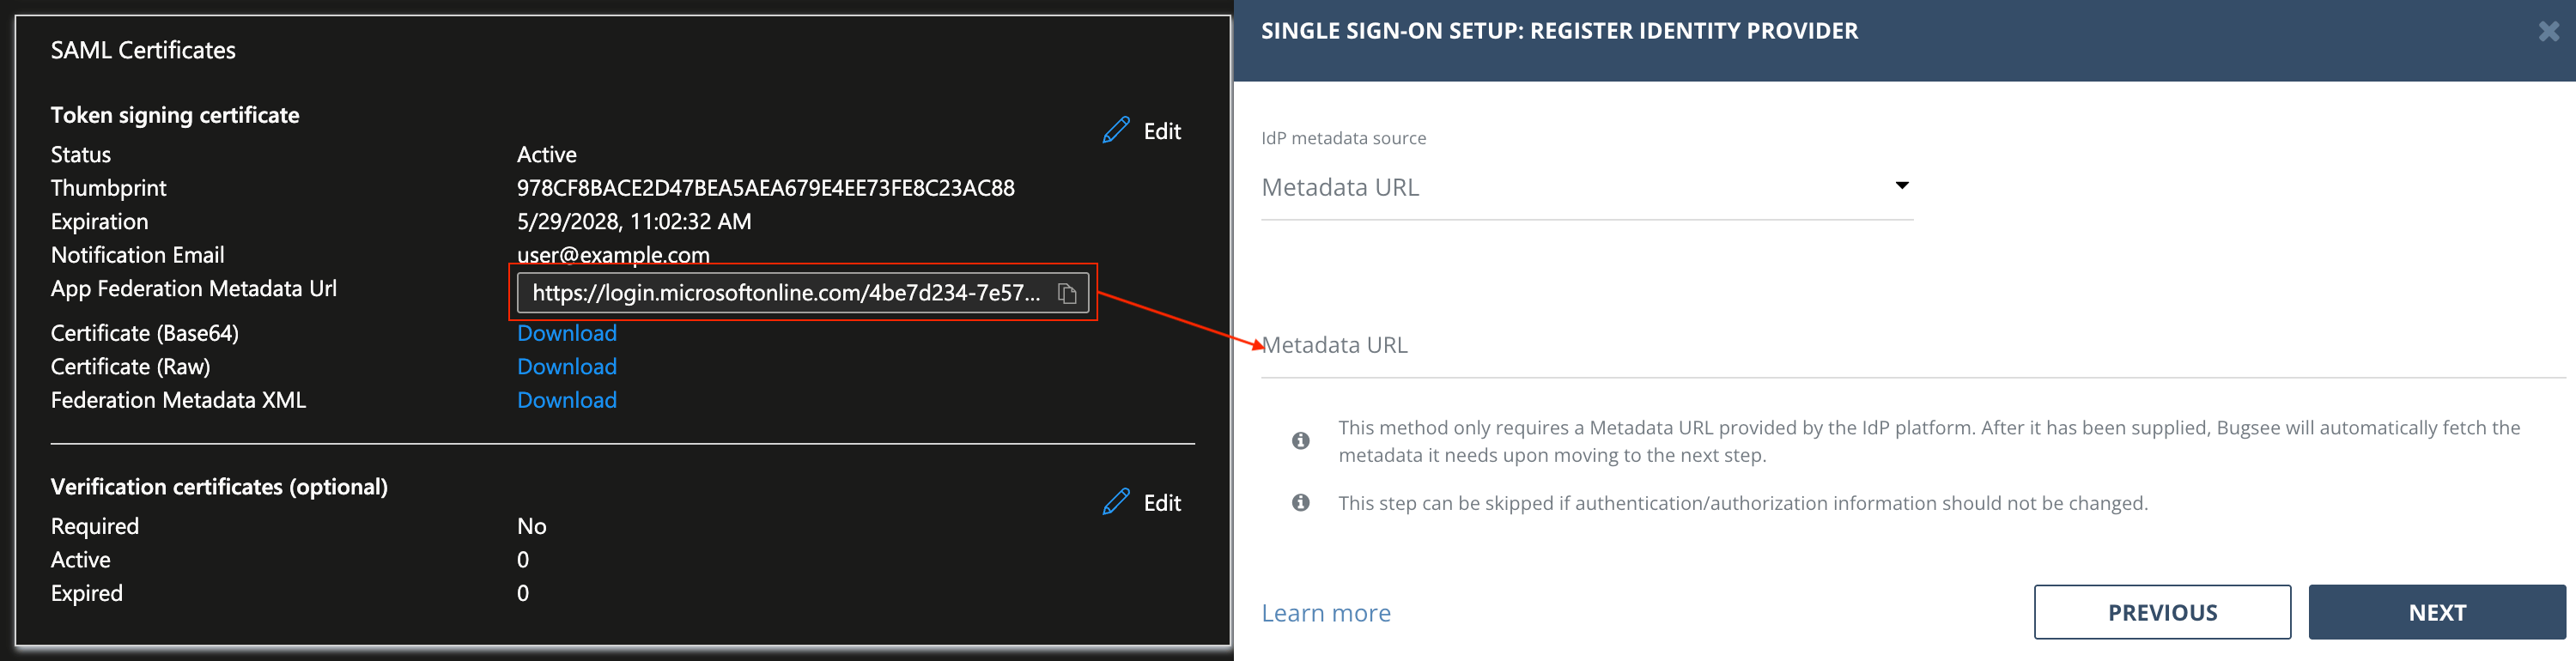
And the last step you need to take is to copy the App Federation Metadata Url and paste it into the Metadata URL in the Bugsee's SSO setup wizard.
That's all the steps required to configure SSO in Azure. Complete the configuration of SSO in Bugsee and you're all set.